

Key takeaways
- A 1-gallon batch typically takes 20–30 minutes to wash and sanitize when the equipment is organized.
- A 5-gallon batch can take 45–75 minutes, especially when cleaning many bottles.
- Plastic vessels are lighter but can develop scratches that harbor residue; replace them if deep scratches appear.
- Glass bottles last for years when inspected regularly, but discard any with chips, cracks, or damaged closures.
- Airlock liquid evaporates and may need topping up during a long fermentation.
- Sanitizer, yeast, sugar, and replacement gaskets are the recurring costs most listings understate.
The best ginger beer making kit for home is a 1-gallon kit that includes a fermentation vessel, airlock, sanitizer, hydrometer, priming sugar, and at least four pressure-rated bottles; it gives beginners useful control without committing them to a bulky 5-gallon setup.
Ginger beer kits vary widely. Some are little more than a ginger-and-sugar concentrate, while others provide the equipment needed to ferment safely and repeatably. The right choice depends on how much you want to make, whether you prefer naturally fermented or nonalcoholic ginger beer, and how much cleanup you are willing to accept.
Our top picks


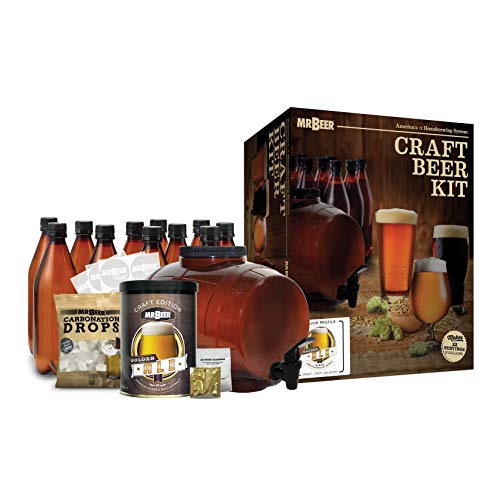
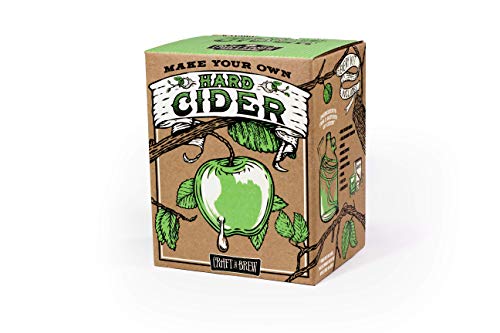
As an Amazon Associate we earn from qualifying purchases at no extra cost to you. Ratings are shown as listed on Amazon.
Quick comparison: which kit type fits you?
| Kit type | Typical batch | Fermentation control | Bottles included | Sugar requirement | Typical price range |
|---|---|---|---|---|---|
| Concentrate and bottle kit | 1 gallon | Low; usually uses a sealed fermentation process | 4 to 6 plastic or glass bottles | About 1 to 2 cups, depending on the recipe | $25–$45 |
| Complete 1-gallon fermentation kit | 1 gallon, yielding about 8–10 bottles | Good; airlock, hydrometer, and measured priming | Usually 4 to 6 swing-top bottles | About 150–250 g total, split between fermentation and bottling | $45–$85 |
| Ingredient kit for an existing setup | 1 to 5 gallons | Depends on your equipment | Usually none | Often requires 2–5 lb of brewing sugar or malt extract | $20–$60 |
| Large 5-gallon kit | 5 gallons, yielding about 45–50 bottles | Very good with a hydrometer and temperature-controlled fermenter | Often none, or 24–48 bottles | About 1–3 kg, depending on the formula | $80–$180 |
These are general market ranges rather than fixed prices. Recipes differ considerably, so check whether the stated batch size refers to the starting volume or the amount left after sediment and transfers.
Best choice by situation
| Your situation | Best fit | Why |
|---|---|---|
| First batch and limited counter space | Complete 1-gallon kit | Small footprint, manageable cleanup, and enough equipment to diagnose problems |
| Lowest upfront cost | Concentrate and bottle kit | Fewer accessories, though future batches may be less consistent |
| You already own a fermenter | Ingredient-only kit | Avoids paying for duplicate equipment |
| Several drinkers or frequent batches | 5-gallon kit | Better cost per bottle, but it needs more storage and cleaning time |
| You want precise sweetness and carbonation | Kit with hydrometer and measured priming sugar | Specific gravity readings make fermentation and bottling decisions less guesswork |
What to look for in the best ginger beer making kit for home
1. A useful batch size
A 1-gallon batch is the practical middle ground. It produces roughly 8 to 10 12-ounce servings after losses, fits in a refrigerator more easily than a large batch, and does not leave you with dozens of bottles if the recipe needs adjustment.
A 2-gallon or 5-gallon kit makes more sense when you already know what flavor you like. Larger batches reduce the amount of work per bottle, but the vessel can weigh more than 40 pounds when full. That matters if you need to move it between a counter and a storage area.
2. Real fermentation control
Look for a food-safe fermenter with a secure lid, an airlock, and a hydrometer. An airlock allows carbon dioxide to escape while limiting exposure to airborne contaminants. A hydrometer lets you compare the original and final specific gravity rather than relying only on bubbles or a calendar.
For a beginner, a wide-mouth plastic fermenter is often easier to clean than a narrow glass carboy. Glass resists scratching and staining, but it is heavy and can break if knocked against a sink. If the kit includes a glass vessel, confirm that it has a handle or a stable carrier.
Temperature guidance is also important. Many ginger beer yeasts work around 18–24°C (64–75°F). A kit that provides a thermometer strip or clear temperature instructions is more useful than one that simply says “leave in a warm place.” Higher temperatures can produce a sharper or more alcoholic result, while cool fermentation may take longer.
3. Proper bottles, not decorative bottles
Carbonated ginger beer needs pressure-rated bottles. Good kits use thick glass swing-top bottles or reusable plastic beer bottles designed for carbonation. Thin decorative glass, recycled food jars, and ordinary screw-top bottles are poor substitutes.
Six 500-milliliter bottles hold about 3 liters, which is suitable for a 1-gallon batch after sediment and headspace losses. Check whether replacement gaskets are available. Rubber gaskets are among the first parts to wear, dry out, or retain odors.
4. A clear sugar plan
Sugar usually serves two different purposes: feeding yeast during primary fermentation and creating carbonation during bottling. A kit should identify both amounts separately. Instructions that say only “add sugar to taste” leave too much room for inconsistent pressure.
As a worked example, suppose a 1-gallon recipe uses 180 grams of fermentable sugar in the main batch and 30 grams for bottling. The total is 210 grams. If the finished batch fills nine 12-ounce bottles, the sugar cost is spread across nine servings, but the more important issue is the second addition: adding too much bottling sugar can create excessive pressure.
Do not add extra sugar to an actively fermenting or sealed bottle merely to make it sweeter. Residual fermentation can continue after bottling. For a sweeter finished drink, choose a recipe designed for that result or chill the bottles promptly once carbonation is adequate.
Cleanup and ownership costs
Cleanup is where inexpensive kits can become inconvenient. Every item that touches the ginger beer needs cleaning and sanitizing: the fermenter, lid, airlock, spoon, funnel, hydrometer, bottles, caps or gaskets, and measuring equipment.
- A 1-gallon batch typically takes 20–30 minutes to wash and sanitize when the equipment is organized.
- A 5-gallon batch can take 45–75 minutes, especially when cleaning many bottles.
- Plastic vessels are lighter but can develop scratches that harbor residue; replace them if deep scratches appear.
- Glass bottles last for years when inspected regularly, but discard any with chips, cracks, or damaged closures.
- Airlock liquid evaporates and may need topping up during a long fermentation.
- Sanitizer, yeast, sugar, and replacement gaskets are the recurring costs most listings understate.
For frequent batches, a no-rinse sanitizer and a bottle brush are worth prioritizing over decorative accessories. A kit that includes six bottles but no sanitizer may be less complete than it first appears.
Beginner-friendly setup: the process that prevents most problems
- Wash all equipment with unscented cleaner, then rinse thoroughly.
- Sanitize the fermenter, lid, airlock, spoon, funnel, and bottles according to the sanitizer instructions.
- Prepare the ginger, water, and primary sugar according to the recipe. Do not seal a hot mixture in the fermenter.
- Cool the liquid to the yeast manufacturer’s recommended temperature before adding yeast.
- Fit the lid and airlock, then record the starting specific gravity if the kit includes a hydrometer.
- Keep the fermenter at a stable temperature away from direct sunlight.
- Bottle only when fermentation has finished or the recipe provides a reliable bottling schedule. A stable hydrometer reading over two days is more informative than the absence of bubbles.
- Add the prescribed priming sugar evenly, leave headspace, and store bottles at room temperature until carbonated.
- Refrigerate before opening. Cold liquid holds carbon dioxide better and reduces foaming.
Common mistakes that separate good kits from frustrating ones
The most frequent mistake is choosing a kit with no way to measure fermentation progress. Another is treating “ginger beer” as automatically nonalcoholic. A fermented product can contain alcohol, sometimes at a level that varies with the recipe and fermentation time. If you need a nonalcoholic drink, choose a heat-treated syrup or a clearly labeled nonfermented method instead.
Over-sanitizing is rarely the problem; under-cleaning residue is. Ginger pulp, lemon solids, and sugar film can cling to threads and bottle closures. Rinse equipment soon after use rather than allowing residue to dry.
Final verdict
For most households, the best ginger beer making kit for home is a complete 1-gallon model with an airlock, hydrometer, thermometer, sanitizer, measured priming sugar, and pressure-rated swing-top bottles. Choose a concentrate kit only when low cost and simplicity matter more than repeatability. Choose a 5-gallon kit when you make ginger beer regularly and have room for bulk fermentation, storage, and bottle cleaning.




Write Your Review
No reviews yet. Be the first to share your experience!